After my last (and first) post here Gary (chissit) offered to sell my an old grinder he had that needed some work, I met up with him to have a look and bought it from him.
Anyway after about a weeks on off fiddling i've got a working grinder (still waiting on new burrs but it does work) so i thouhgt i'd share it with my new community!
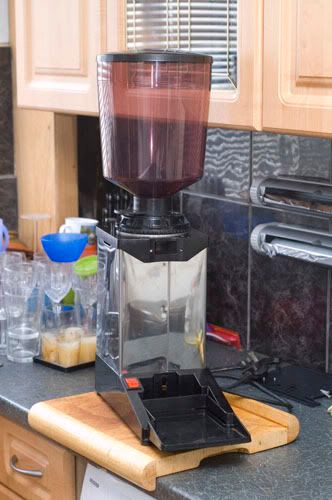
The starting point was the Cunill Tauro Grinder.... a little large for the average Kitchen and espressially mine. it was missing the doser which i didn't want anyway. it can be seen with doser etc on the cunill website
So heres a shot of the grinder that i started with.
then i started taking it apart.
Heres the Motor
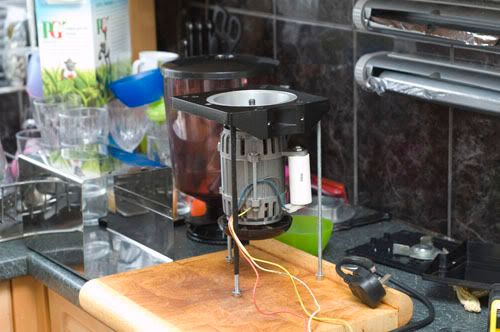
And the BIG hollow base
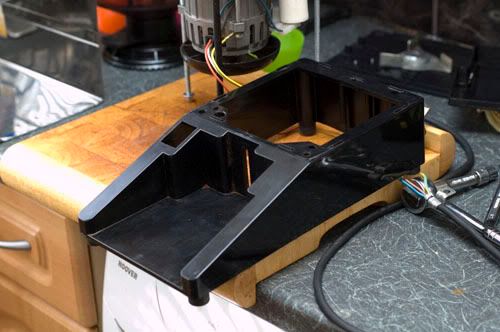
After taking it to bits i decided i could lose a good 40mm by getting rid of the big plastic base, i would also lose 100mm off the footprint size of it, the only reason the base was so big is to accomodate the original doser (now gone.)
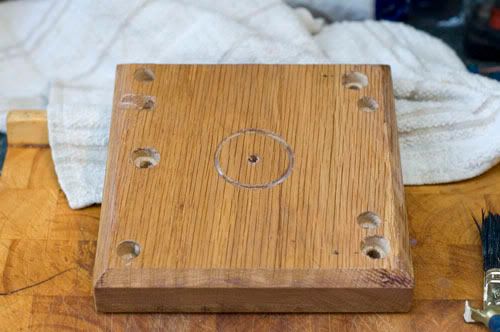
So i sourced a nice block of oak (dads garage!!) and routed round all 8 edges the drilled it to accomodate the threaded rods, drilled an air hole as the motor has a fan on the bottom i presumed it to be a good idea and then mounted the original rubber feet into 13mm holes.
Next comes POWER!!
the on/off switch was on the plastic base so it had to be relocated, lickily the steel case was dented at the bottom. a perfect oportunity for a coverup.
Sorted with a dremmel!
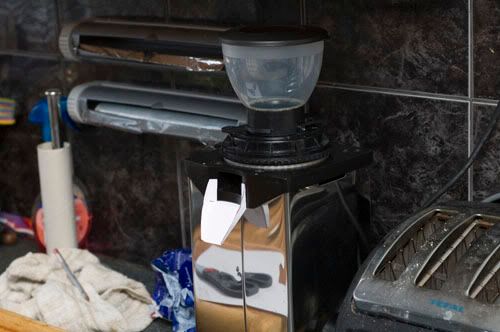
once i got it back together it was starting to look a bit more kitchen sized!
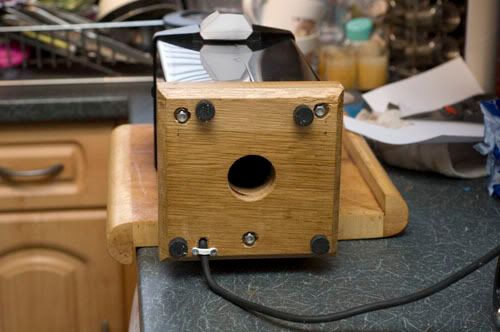
Heres a shot of the bottom with the holes cut, feet mounted (Got one of the front ones wrong i know!!) and the cable securely in its recess with a 13Amp plug cable strap to hold it in place.
Next came the 2kg hopper, It had to go and a trip to Morrissons found me a sealy tub with the perfect sized bottom, i glued this to the original pushfit connector from the original hopper, this means i still have the cut off flap allowing me to remove the hopper without spilling beans everywhere,
Heres a pic of the modified hopper (and an early paper template chute!)
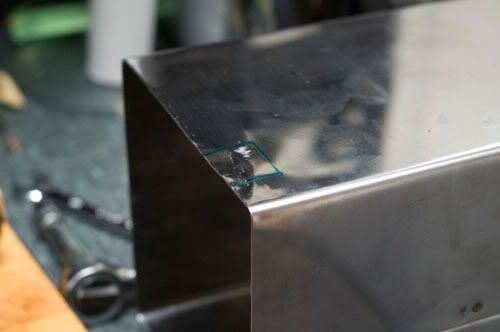
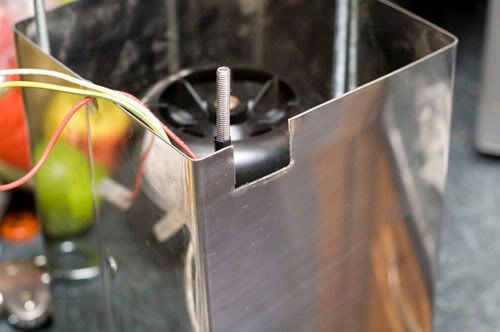
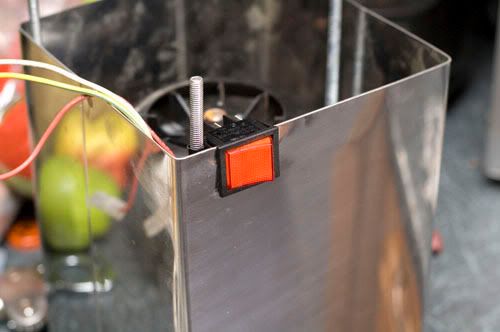
After that the last thing was the chute itsself. after about 5 designs of card templates i got it about right, stuck the 2 part template to some thin sheet metal and set about it with the dremmel.... again.
after an hour of cutting and folding and finaly drilling wen i had an half decent chute to attach to the grinder.

Not entirely happy as it looks a bit "rough around the edges" but it works perfectly. i may try again or get someone to do it pro if i get round to it.
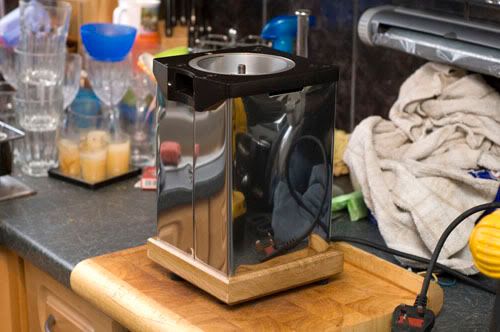
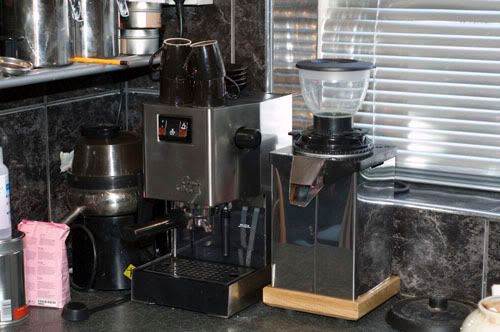
anyway The finish article next to my gaggia classic. much more healthy in size and function.

Carl


